How To Build A Raised Garden Bed
Once again it has been awhile since I last posted. There has been a lot that has happened in the past year. We bought a house last November! Not much could be done in the way of the yard and we had to wait all winter to see what surprises came up in the spring. However we are an impatient lot over here and decided to landscape our side yard. First on our list was that we wanted a garden again, and this time we had the space to do it right. We decided Raised garden beds were the way to go. Bending over and getting down on my hands and knees doesn’t quite work for me anymore.
Planning the Garden
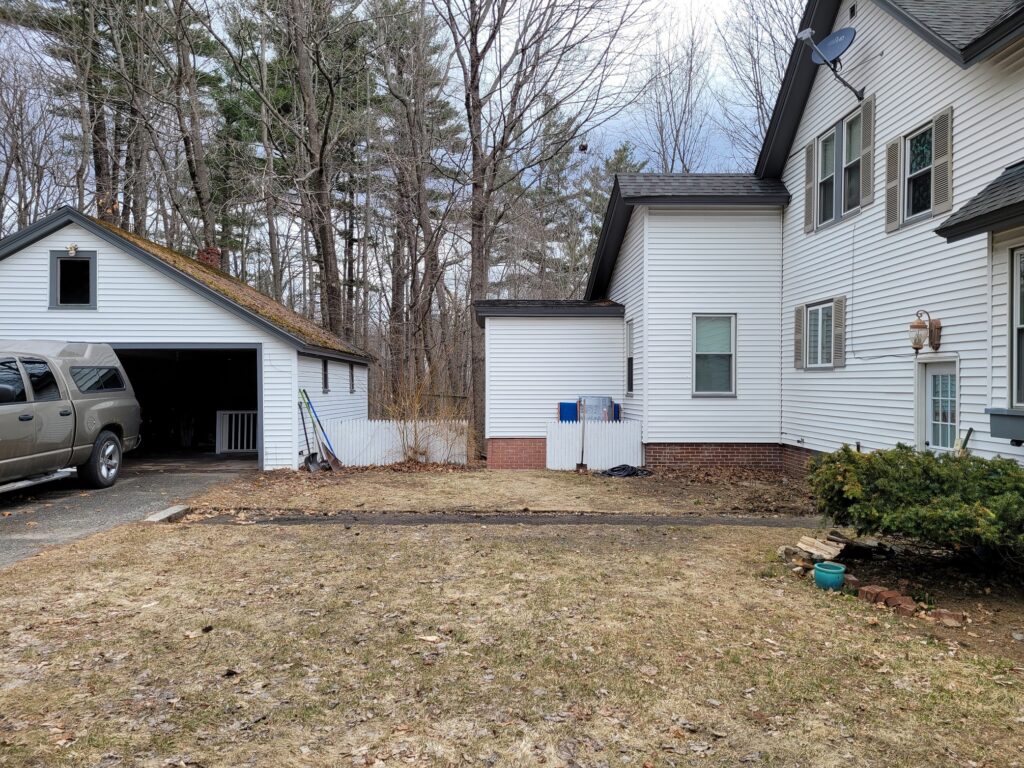
The part of the yard we wanted to use is the side closest to the house. The sun hits it for most of the day. It gets at least 6 hours of direct sunlight a day which is optimal for growing vegetables.
I knew we didn’t want to crowd the space, so I used a program online to build a diagram of how I wanted the boxes positioned. I also wanted an arbor as an entrance to our garden and the back part of our yard. I used Gardena myGarden Planner . It has the basics, enough to get a general idea of what you want. The plants are somewhat limited, but again enough to give you a good visual.
Researching and Decisions
So my husband is very inspired by our new surroundings and has watched a lot of YouTube videos on how to build raised garden beds. Needless to say there is a lot of prep work to be done to the yard itself before beginning.
We decided early on that we wanted to do wood and corrugated to steel roofing for the sides. Originally we wanted to do the green roofing to be different, however the cost was a bit much. Once we got to the store we saw there were two kinds of steel roofing and the flat steel roofing just spoke to me.
To start with we were going to leave the boxes the natural wood color. Then after building the boxes I decided that if they were white they would blend better with the house and the setting.
Steps to building the raised beds
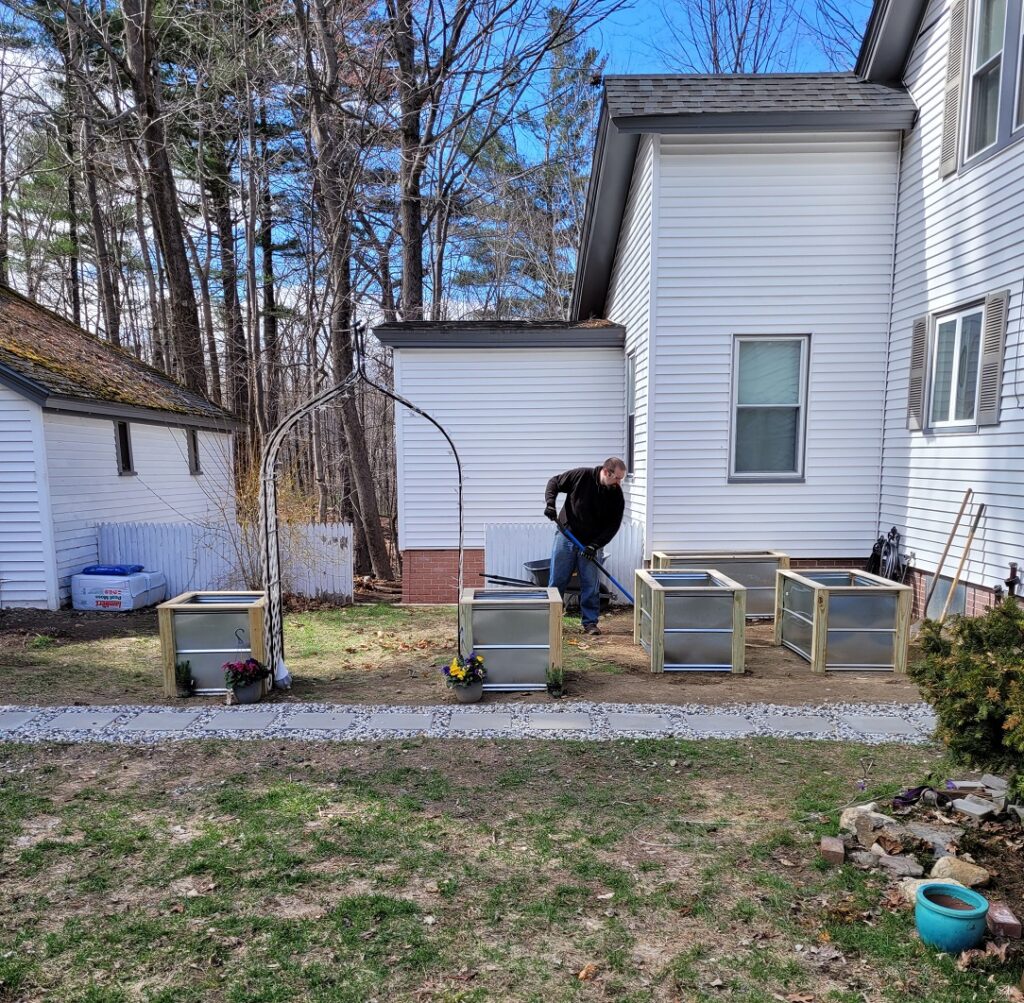
My husband first pulled out all the old plants and picked up all the strewn about bricks and unwanted rocks. Then he dug up roots and removed the dirt to be able to level the ground.
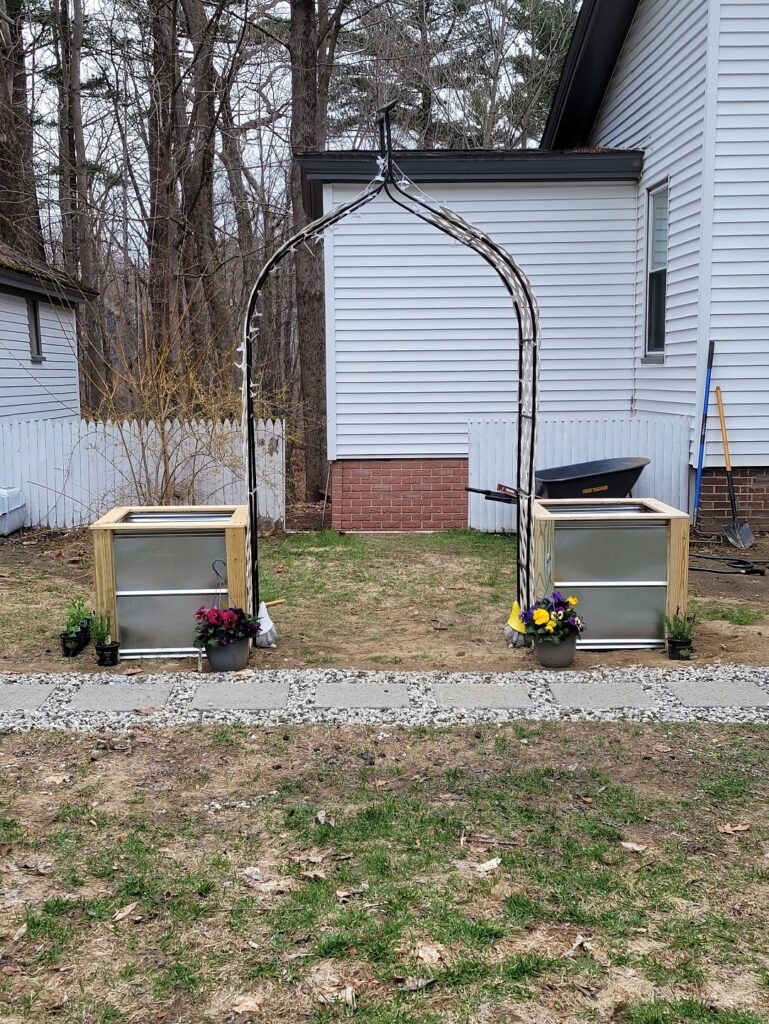
The first two boxes that my husband built were the square ones. They are 2′ x 2′ with 4 x 4 wood pressure treated posts and raw wood caps on top. The other three boxes are 2′ x 4′ long boxes made of the same materials.
My husband has made a YouTube video explaining his process on how to make the boxes. I think the best way to learn how the boxes were made is to watch his video here Simple and Inexpensive Raised Garden Beds.
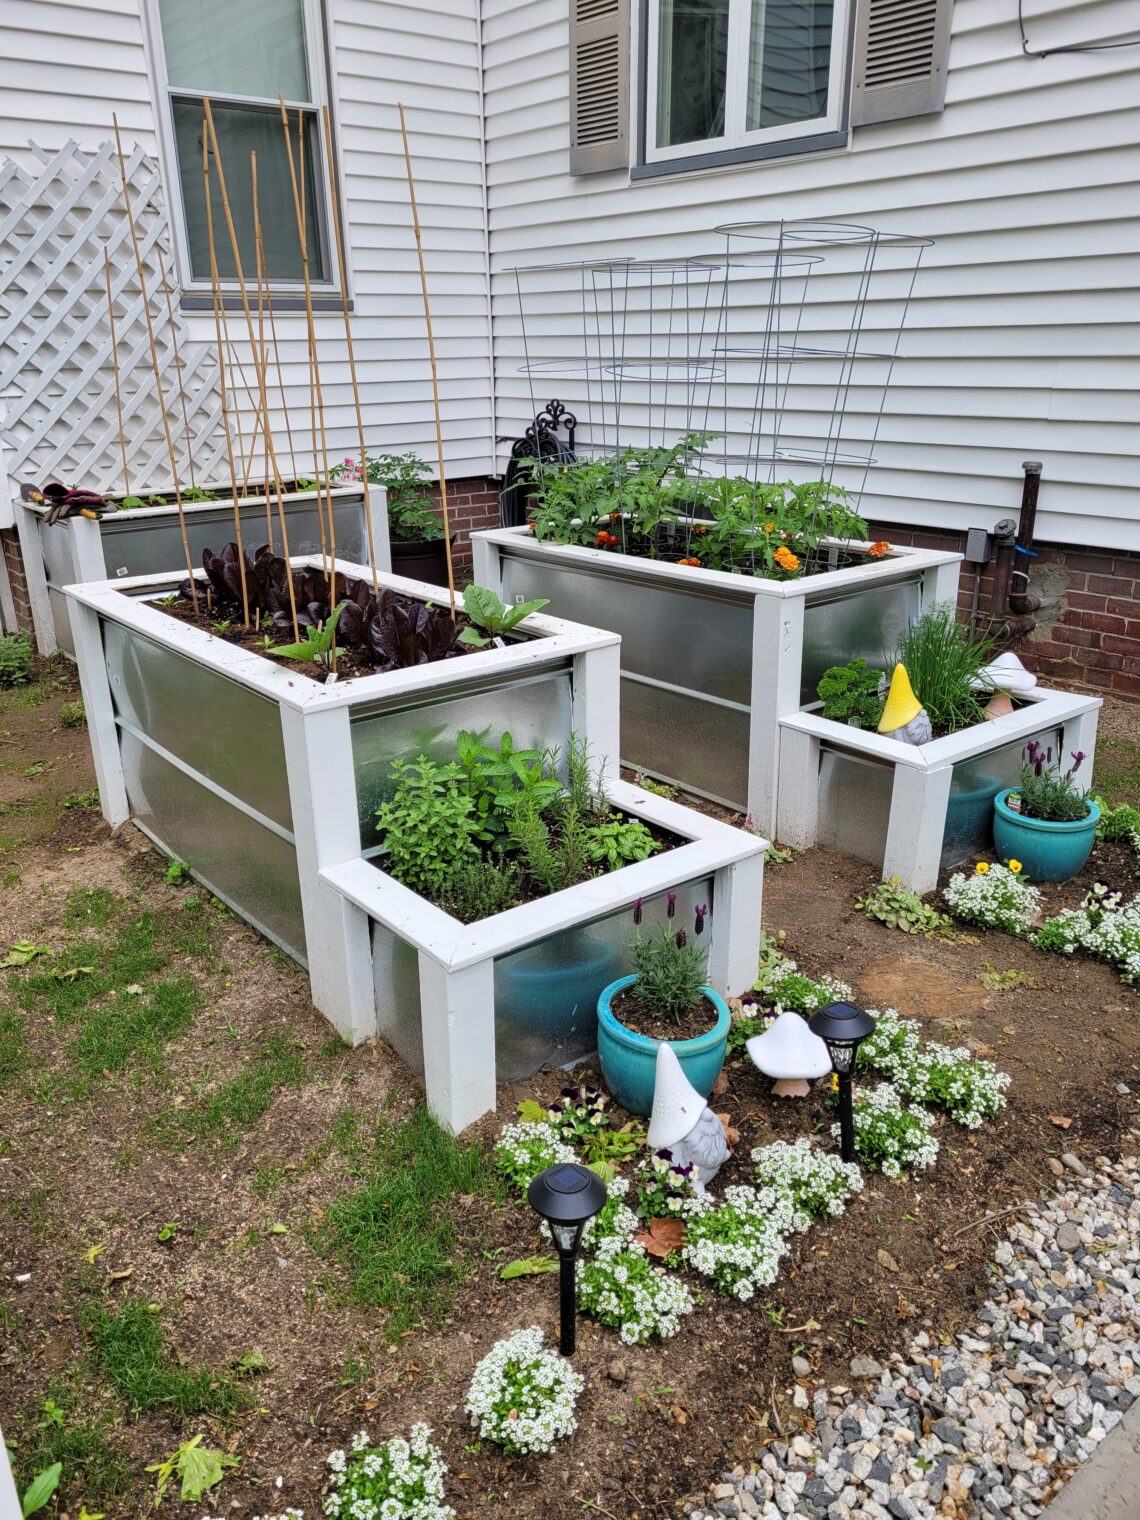
The finished product
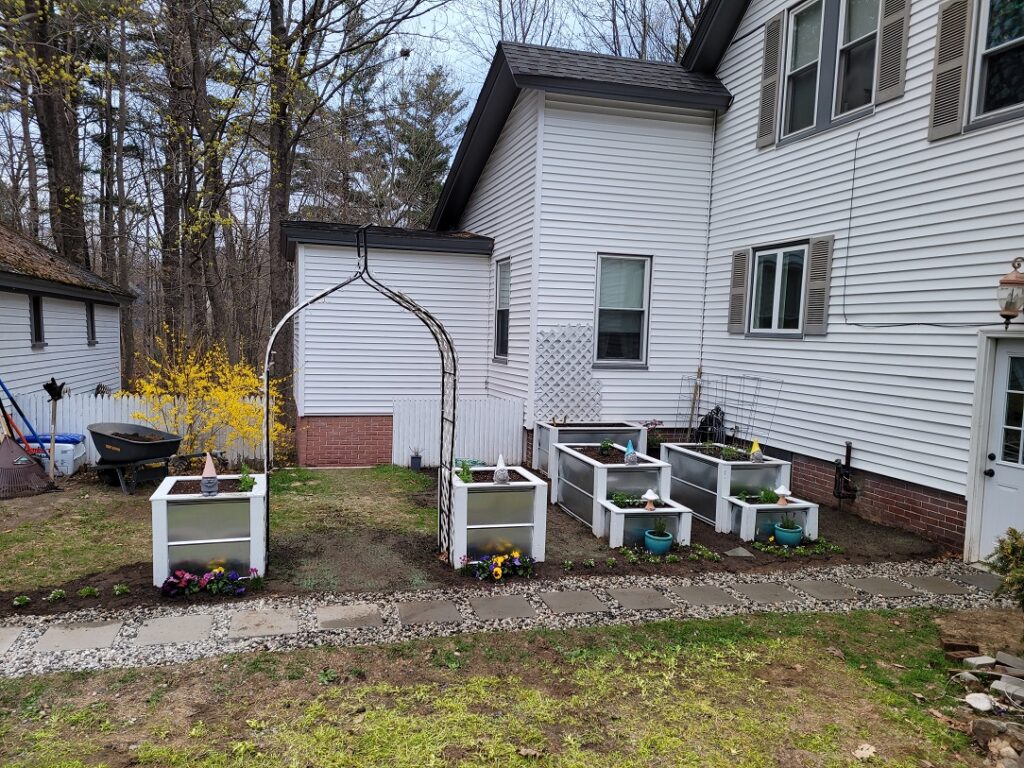
The raised garden beds are finished and painted white. The spacing of the beds came out really well and don’t look too crowded. Also note in this picture compared to the first we also redid the path to the house. The path needed some major help, so we tore up all the old cement and replaced it with stepping stones and gravel. We did plant some early vegetables in our new boxes as well, because we are impatient.
We are now seeing the rewards of our gardens and enjoy watching it flourish. I don’t think one day goes by where we don’t stop and do something to it. In one of my next blogs I’ll be explaining how we planted our garden, planning where our plants were to go, and how we used Hugelkultrur for our soil base.


6 Comments
Sabrina
I would love to plant a garden filled with my favorite vegetables. However, I need to research how to keep the deer from eating everything I would grow. However, your garden looks wonderful. I plan to get my DYI husband to watch the video. Maybe I can plant some seeds in his mind. Thanks for sharing.
Cindy
I love your raised garden beds! They are not only functional but beautiful too!
Lisa, Casey, Barrett Dog
The raised garden beds look amazing! This gives us inspiration on a project to do when we visit family in Hawaii.
Pingback:
Julie Kieras
These beds turned out BEAUTIFULLY! Great work – I am jealous and need some of these garden beds now! 🙂 (sending YouTube vid to hubby!)
Sara
Aww, thank you. They ended up looking really pretty in our yard. Plus our neighbors had really positive feedback as well.